Time needed: 15 minutes.
These instructions will show you how to import a PKCS#12 file containing a certificate and private key into Azure Key Vault. This method is appropriate for SSL/TLS and standard (OV/IV) code signing certificates. These instructions do not apply to EV code signing and document signing certificates, which require hardware-protected private keys. You will need to create a Key Vault in your Azure account before using this how-to.
- Select Key Vault.
Sign into the Azure portal and select the key vault where you wish to install your certificate.

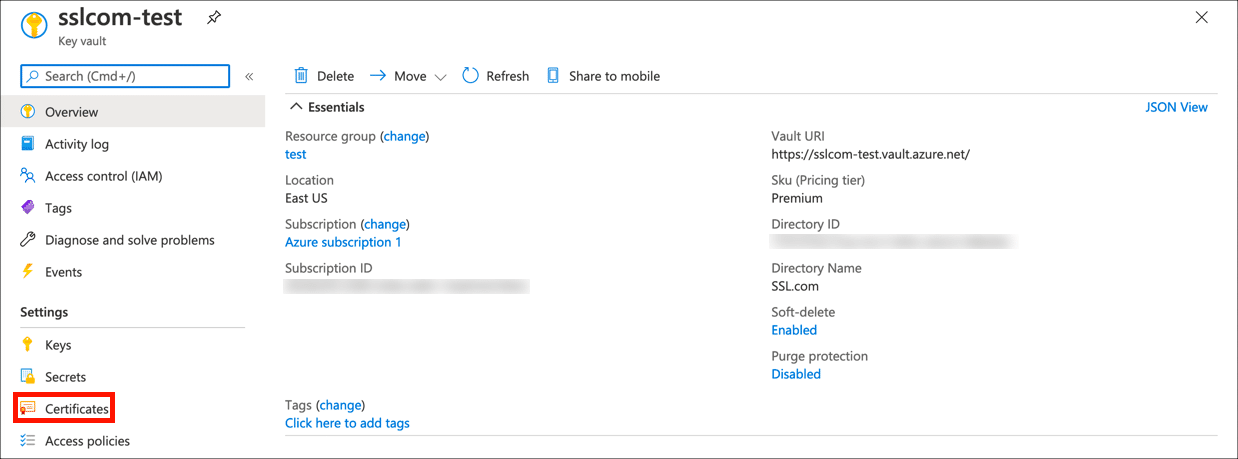
- Open certificates settings.
Select Certificates in the right-hand Settings menu.
- Click Generate/Import.
Click the Generate/Import link to begin the import process.

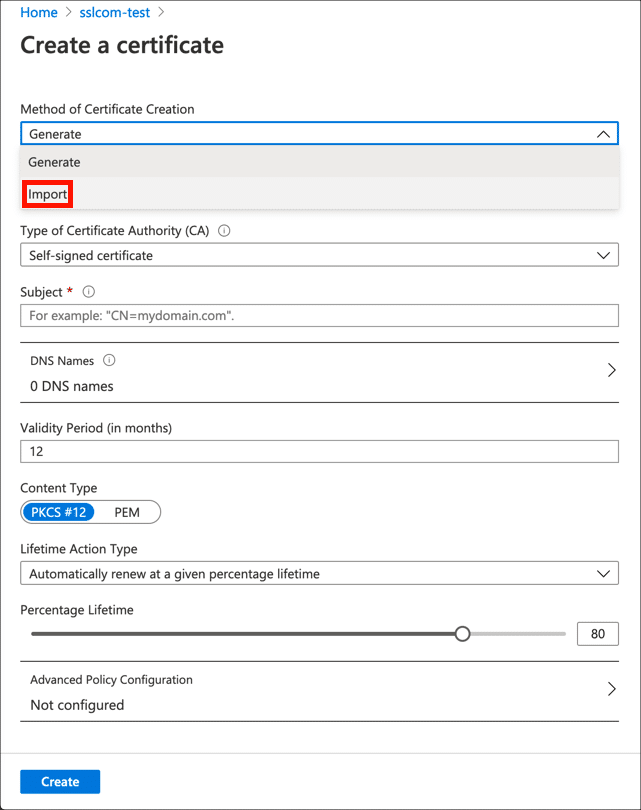
- Select Import.
Select Import from the Method of Certificate Creation menu.
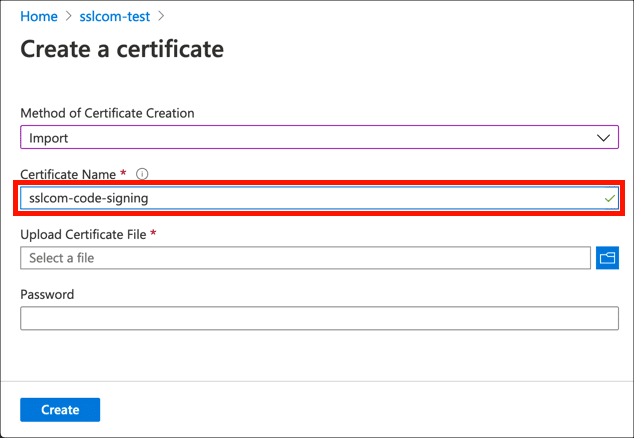
- Enter certificate name.
Enter a unique name for the certificate in the Certificate Name field. The name must contain only alphanumeric characters and dashes.
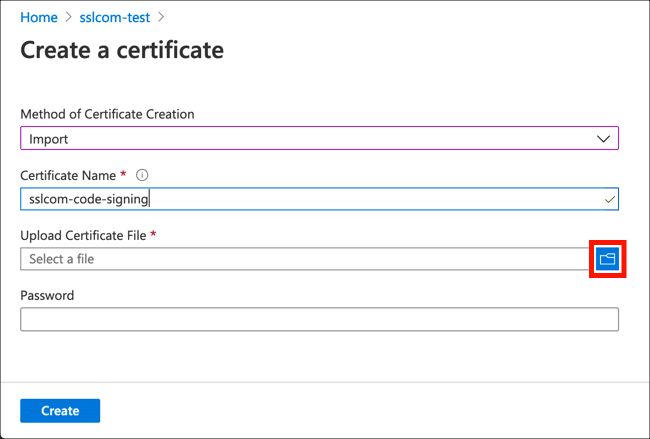
- Upload certificate.
Click the folder icon and browse for the PKCS#12 certificate file you want to install. Note that Azure requires the extension .pfx for PKCS#12 uploads, so you will need to change the extension from .p12 to .pfx for files downloaded from SSL.com.
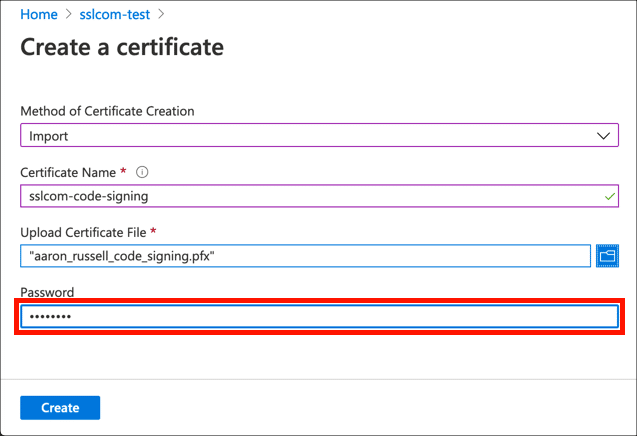
- Enter PKCS#12 password.
Enter the password for the PKCS#12 file. If you downloaded the file from SSL.com, this is the password you created when you generated and retrieved the certificate.
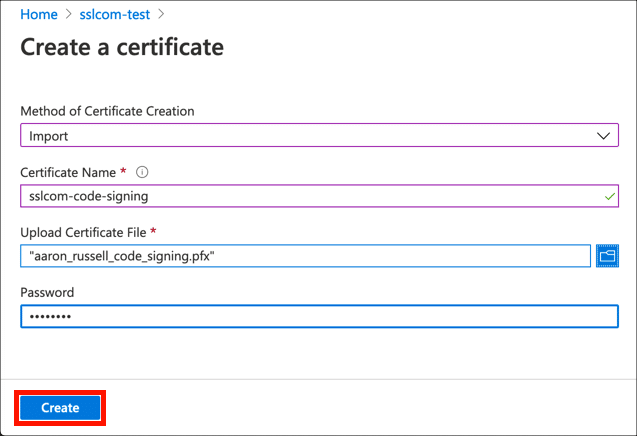
- Click Create.
Click the Create button to import the certificate.
- Finished!
The certificate and private key are now imported into Key Vault and are available for use.

