This tutorial gives an introduction to code signing with Azure DevOps, using a certificate stored in Azure Key Vault.
To follow these instructions you will need:
- An Azure account
- A DevOps project
- A Key Vault
- A code signing certificate installed in your Key Vault. You can either:
SSL.com’s eSigner cloud code signing service now enables easy integration with popular CI/CD tools, including Azure DevOps, for automated code signing. eSigner lets you conveniently add globally trusted digital signatures and timestamps to your code from anywhere, with no need for USB tokens, HSMs, or other special hardware.
Head over to this article for a guide on how to integrate eSigner with Azure DevOps: Azure DevOps Cloud Signing Integration Guide.
Register an Azure Application
First, you’ll need to register a new Azure application so you can connect to your Key Vault for signing.
- Sign into the Azure portal.
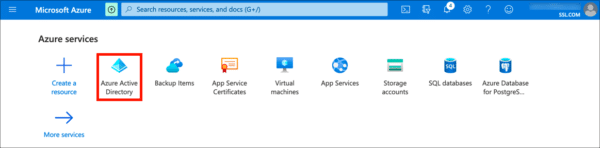
- Navigate to Azure Active Directory. (Click More services if the Azure Active Directory icon isn’t visible.)
- Click App Registrations, in the left column.
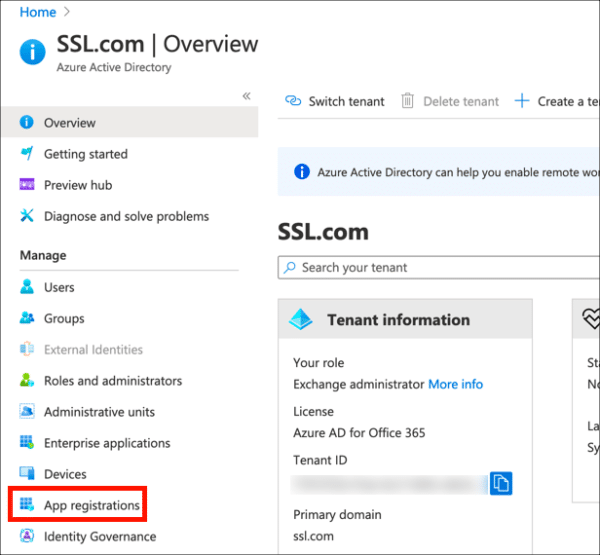
- Click New Registration.

- Give your application a Name and click the Register button. Leave the other settings at their default values.
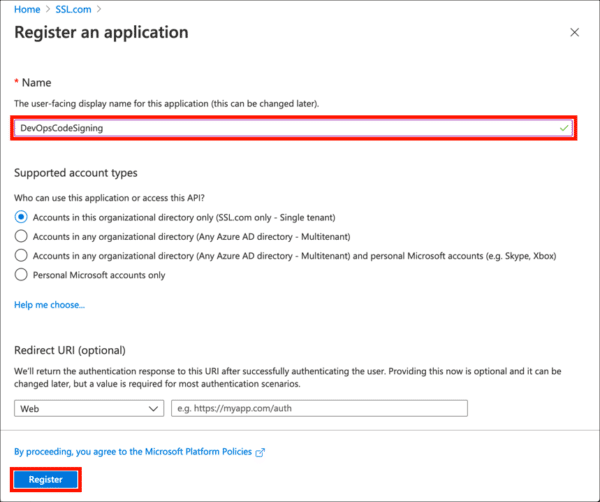
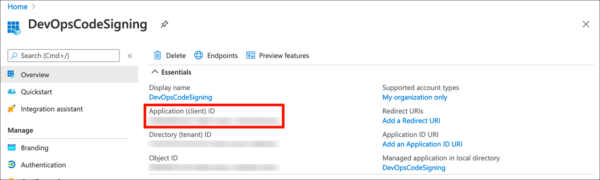
- Your new application has been registered. Copy and save the value shown for Application (client) ID, because you’ll be needing it later.
Create a Client Secret
Next, generate a client secret, which will serve as a credential when signing.
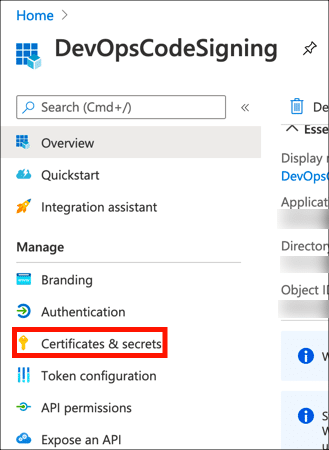
- Click Certificates & secrets in the left-hand menu.
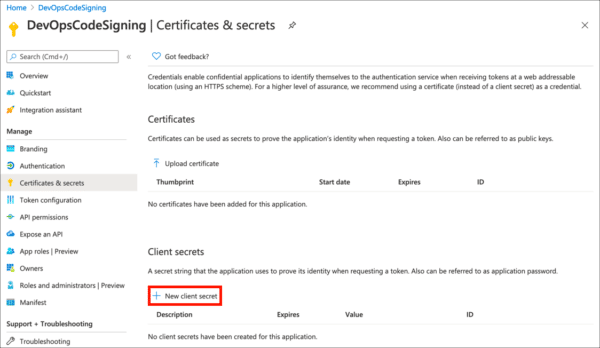
- Click New client secret.
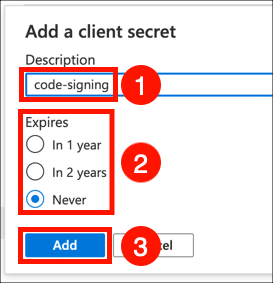
- Give your client secret a Description, set expiry as desired, and click the Add button.
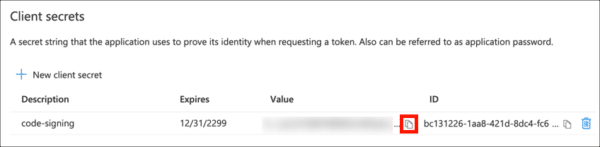
- Copy the Value of your new client secret immediately and save it in a safe place. The next time the page is refreshed this value will be masked and irretrievable.
Enable Access in Key Vault
Now, you’ll need to enable access for your application in Azure Key Vault.
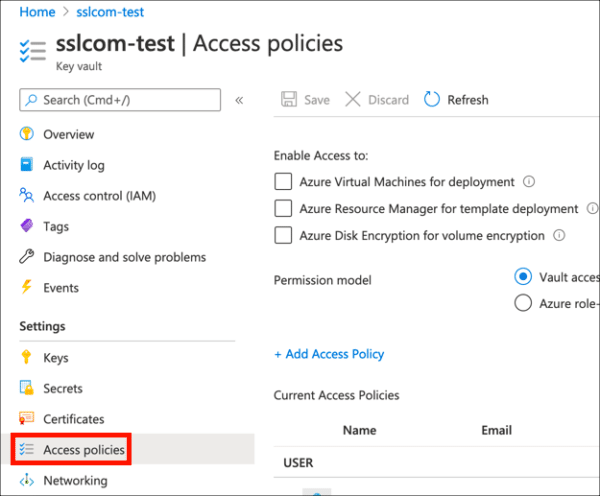
- Navigate to the Key Vault containing the certificate you want to use for signing and click the Access policies link.
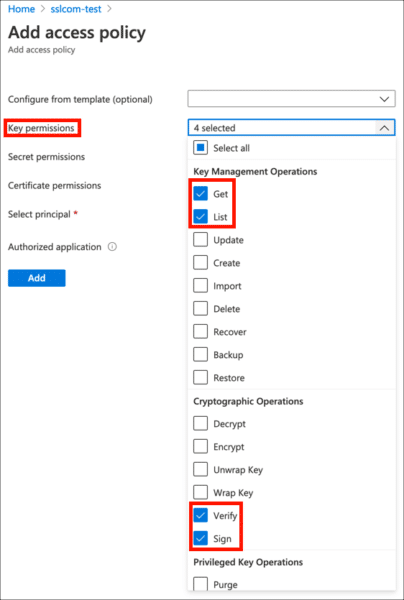
- Click Add Access Policy.
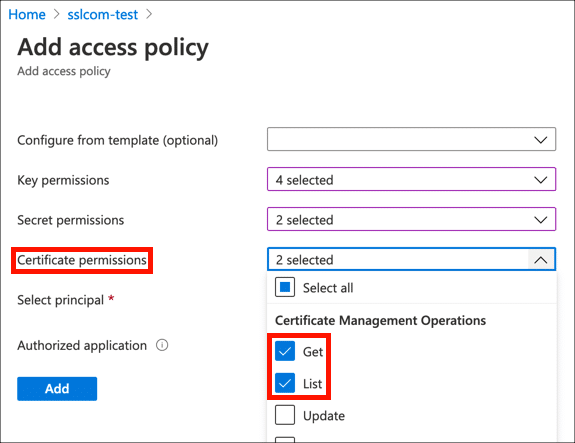
- Under Key Permissions, enable Verify, Sign, Get, and List.
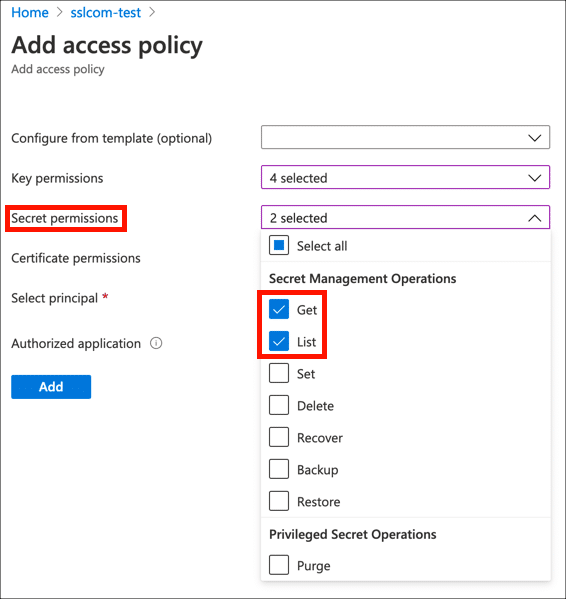
- Under Secret permissions, enable Get and List.
- Under Certificate permissions, enable Get and List.
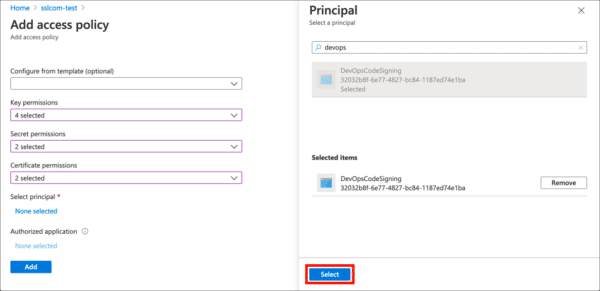
- Click the None selected link, under Select principal, then use the search field to locate and select the application you created in the previous section.

- Click the Select button.
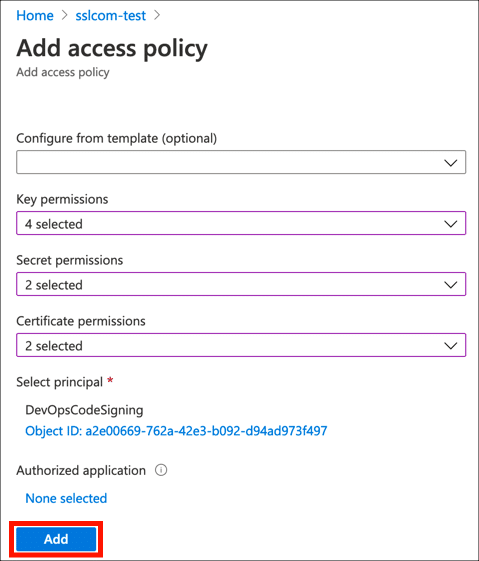
- Click the Add button.
- Click Save.
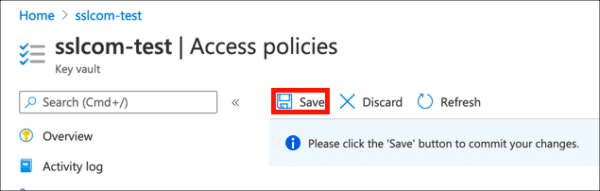
- Your access policy is set.

Configure DevOps Build
Now you can configure your build. Open your project in Azure DevOps.
Store Application Credentials as Variables
You could include your application ID and client secret directly in your YAML pipeline file, but it’s more secure if you store them as variables in DevOps.
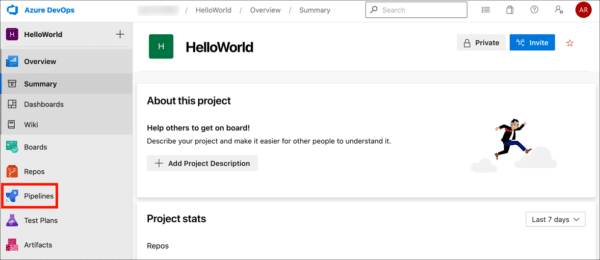
- Click Pipelines.
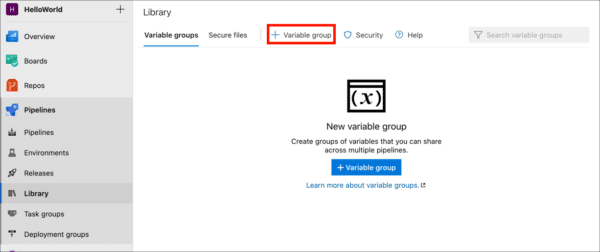
- Click Library.

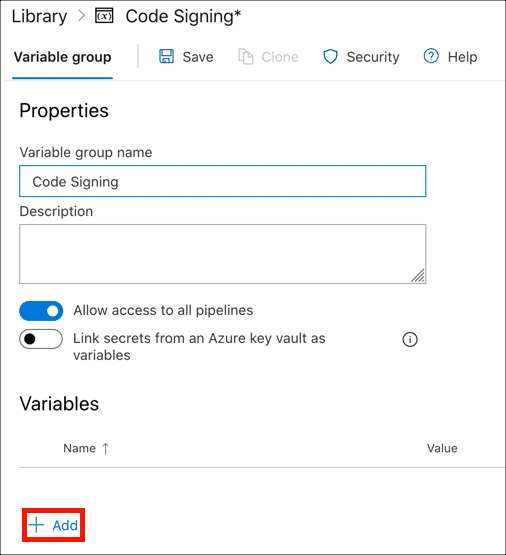
- Click + Variable group.
- Give your variable group a name.
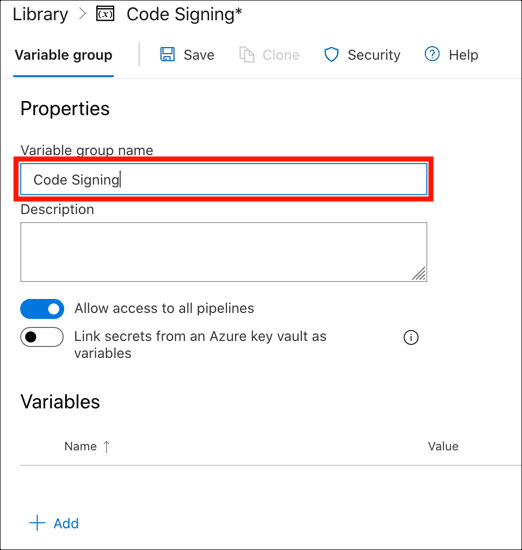
- Click Add.
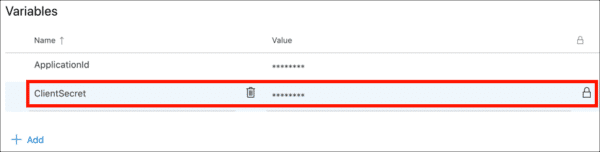
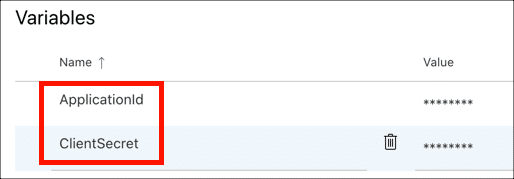
- Enter a variable name for your application ID, then paste in the value. Click the lock to encrypt the variable when you are finished.

- Repeat the process to add a variable for your client secret.
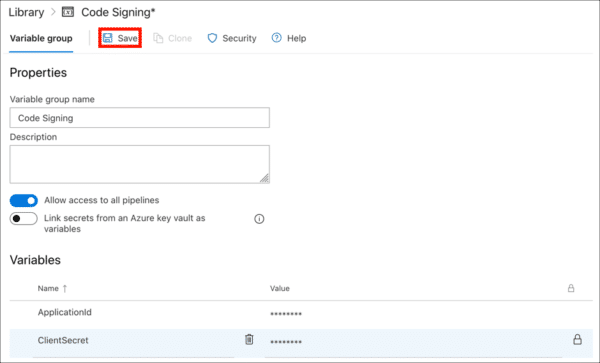
- Click Save.
- Link the variable group in your pipeline. (replace VARIABLE-GROUP with the name of your actual variable group.)
variables:- group: 'VARIABLE-GROUP'
Add Pipeline Step to Install Azure Sign Tool
Add Azure Sign Tool Command to Pipeline
- Now you can add a task to sign your code to the pipeline. You will need the following information:
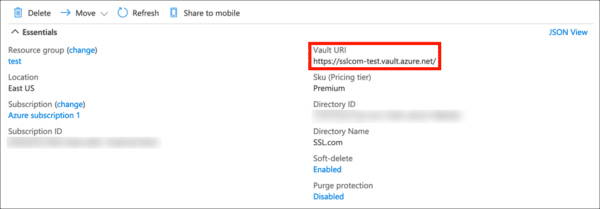
- Your Key Vault URI (available in the Azure Portal):
- The friendly name of your certificate in Key Vault:

- Your Application ID and Client Secret variable names:
- Your Key Vault URI (available in the Azure Portal):
- Add the Azure Sign Tool call to your pipeline. Replace the values shown in ALL-CAPS with your actual values:
3. You should see output like this if signing is successful: